Optical quality control of surfaces
Initial situation
As an innovative manufacturer of aircraft dining tables and armrests, Ebco is subject to increasing quality requirements and cost pressure. Ebco's dining tables consist of a foamed filler and two thermoformed plastic shells. Defects in the thermoforming sheets are often only visible after thermoforming, so quality control can only be carried out after thermoforming. This quality control is very time-consuming, as the smallest surface defects such as color inclusions, scratches or variations in gloss level have to be identified. In addition, depending on the color of the table surface, it can be very stressful for the human eye. Despite the existing manual quality controls, many defects are only detected during the final assembly of the dining tables. Quality control must be optimized in order to reduce rejects or detect defects earlier and increase efficiency. One possible approach to this is automated quality control.
Solution idea
For automation purposes, the film blanks before thermoforming or the thermoformed trays are to be recorded with a camera. For this purpose, several images are taken with different lighting using an industrial camera. The project also investigated the possibilities of automatically detecting defects using image processing and artificial intelligence on the basis of the recorded image data.


Benefit
- Early fault detection through visual inspection and artificial intelligence
- Detection of small defects that are barely visible in 2D images
- Classification of different types of errors
- Reduction of internal waste and the complaint rate
- Time and cost savings through the use of a single 2D camera
- Improved environmental compatibility through early detection of rejects
- Potential for new industry standards and involvement of OEMs
Implementation of the AI application
A feasibility study was carried out to check whether the defects on the aircraft table could be made visible by the optical inspection system. Seven defect types were categorized by Ebco and corresponding test parts were provided. These defects were divided into two main areas: Shape defects and material defects.
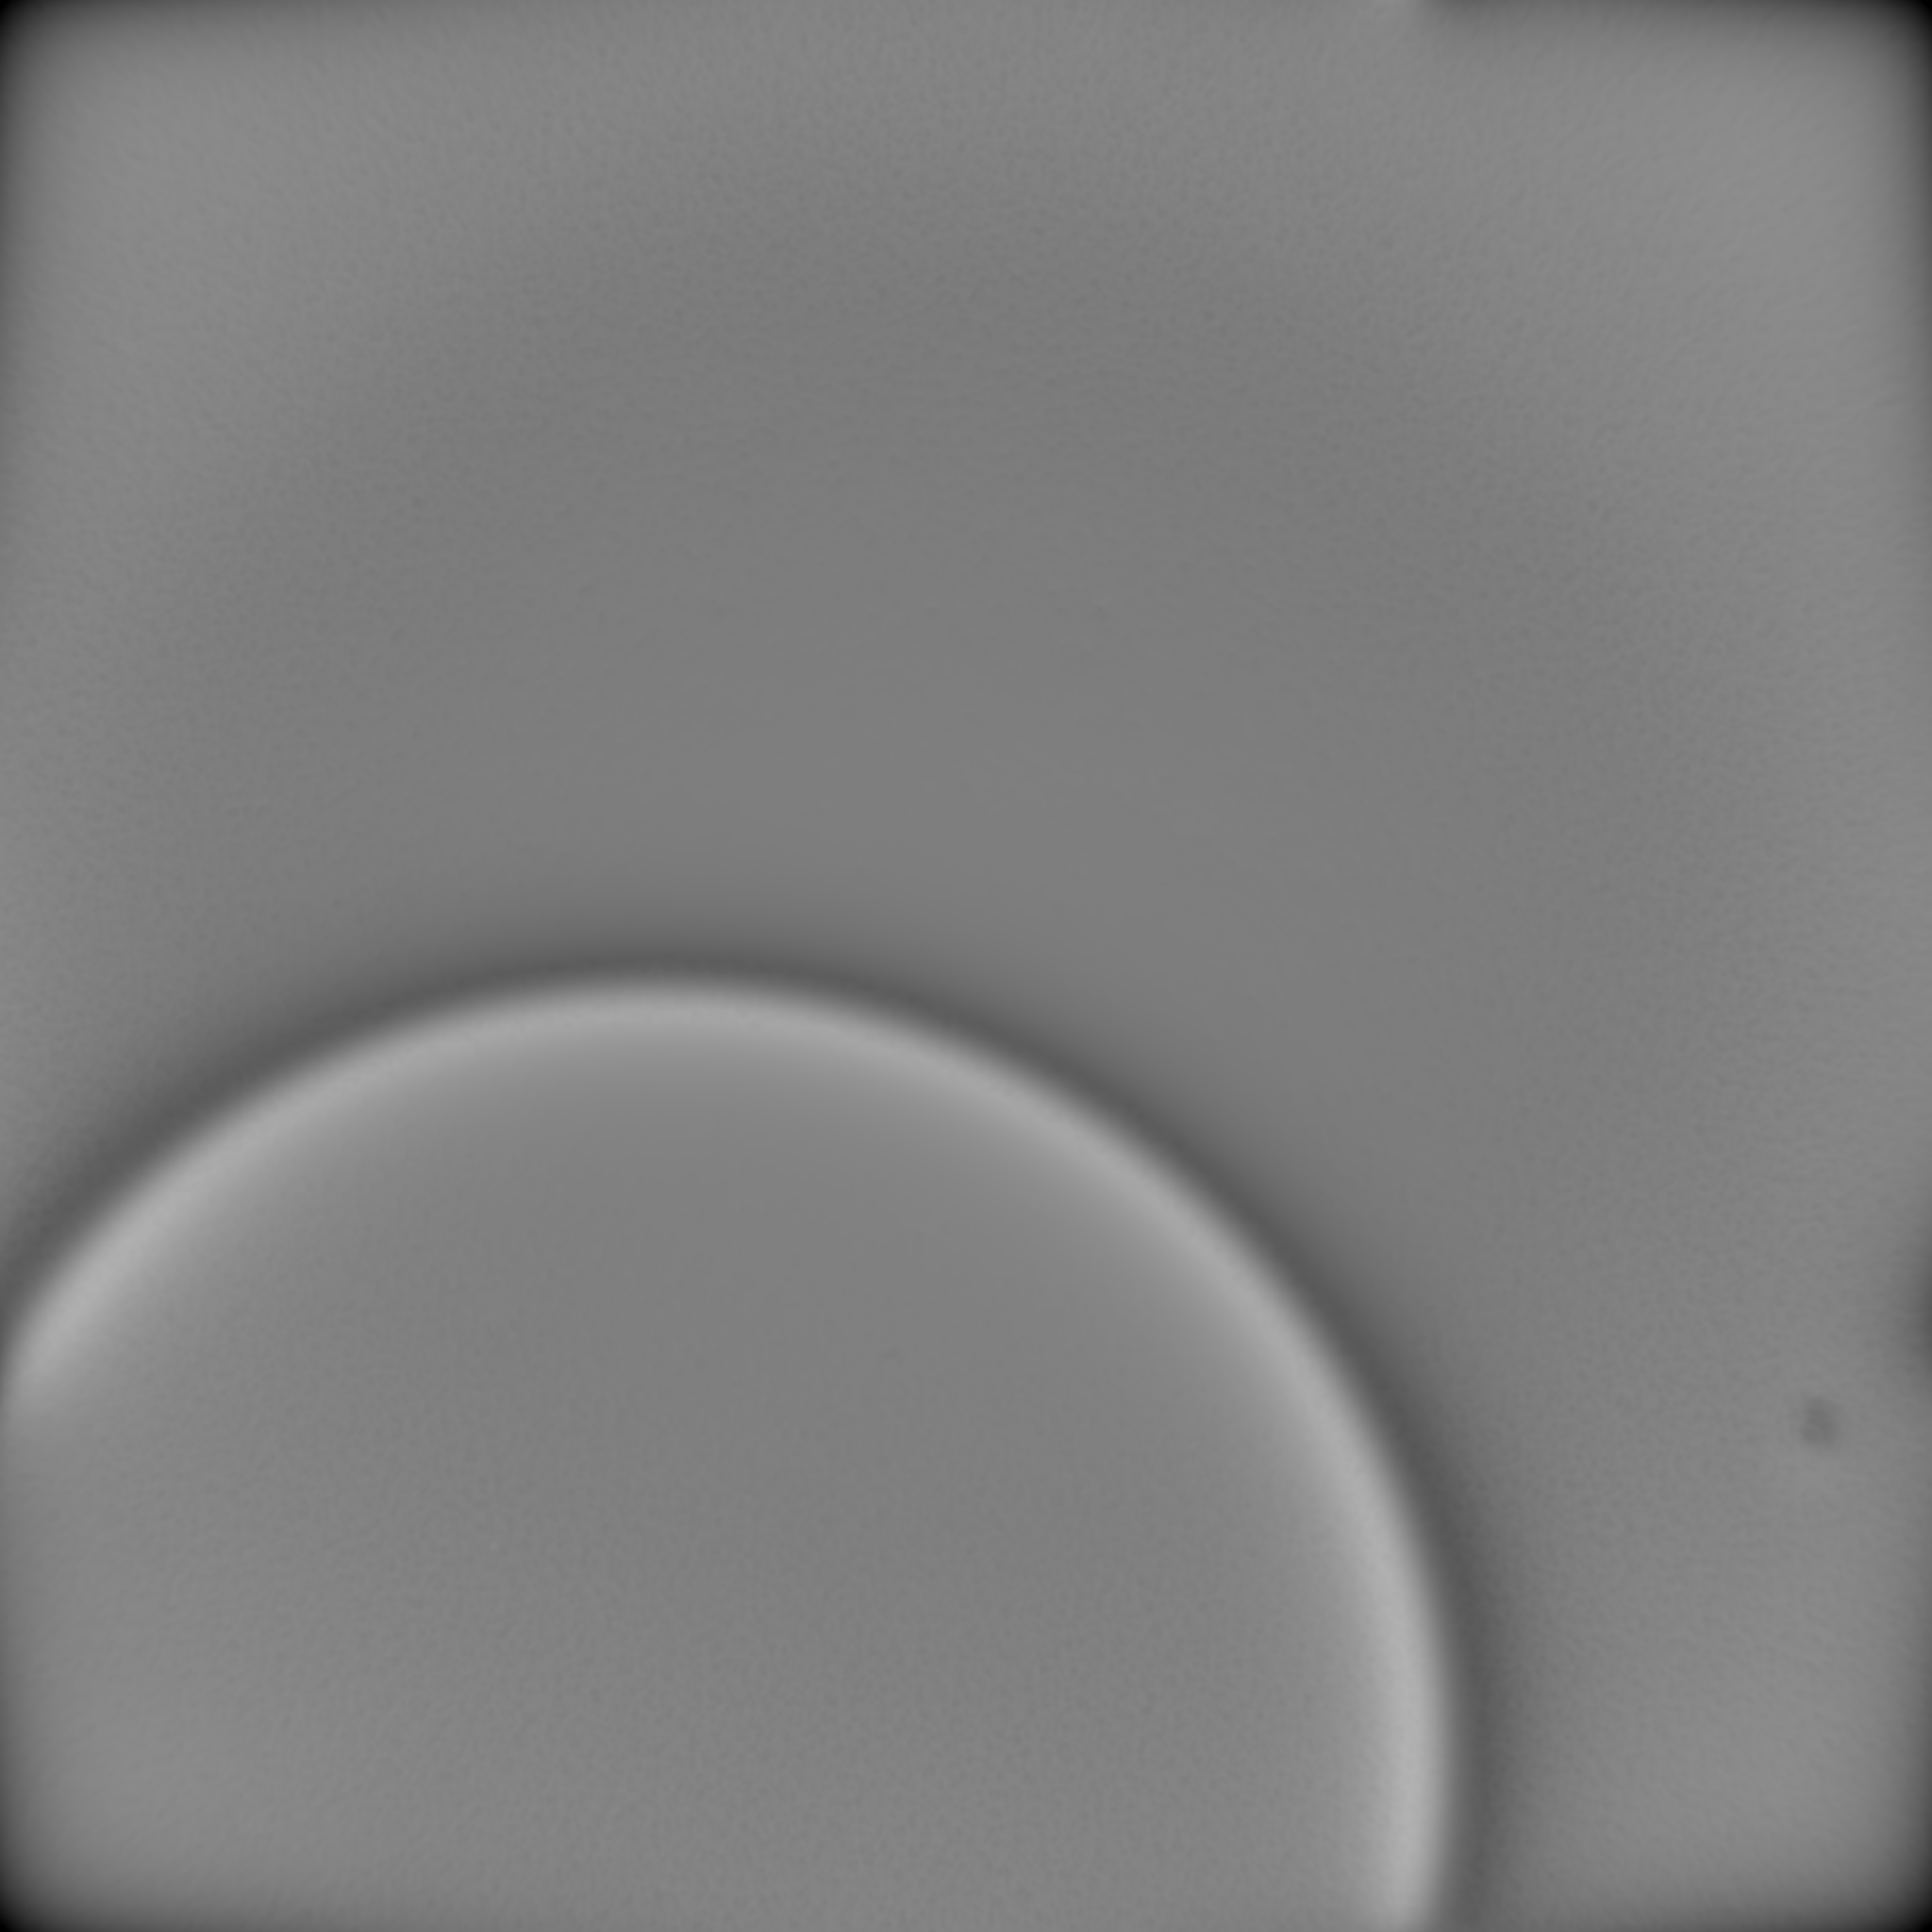
Due to the limited number of images, a recording method called Shape From Shading (SFS) was used to detect shape defects. The optical inspection system takes several images with different lighting directions. The SFS algorithm analyzes the shape of the object based on the shading under different lighting conditions. For this purpose, the surface normal of an object is estimated by analyzing the amount of light.
Various active lighting variants were investigated for the detection of material defects. Depending on the type of material defect, special types of lighting must be used.
